Sharpening Using the High pass Filter
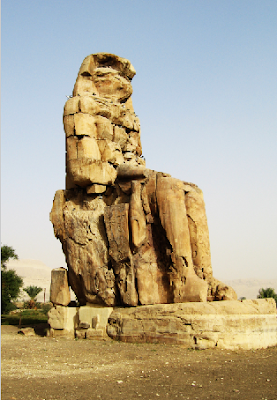
This is a really quick and easy way to sharpen an image. Take an image and open it in Photoshop. Hit command +J (control+J on PC) to duplicate the layer. Then, change this layer’s blend mode to overlay in the layers panel.


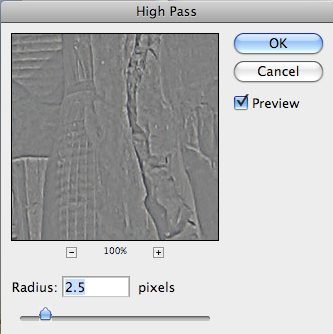
Then go to Filter>Other>High Pass and a dialog box will come up. This is a simple interface with only one slider and a box where you can dial in an exact amount. For a smaller image, a lower number, such as 2 or 3 should be used. For a high res image, you can dial in a higher number to taste.

You have to be careful not to oversharpen your image. Setting the value too high will make it look choppy, but you can lessen the effect slightly by lowering the opacity of the duplicated layer. The lower the opacity, the less sharpening that you will see. This is quick and easy, and it is an effect that you can easy control with the opacity slider.

Labels: PhotoShop


0 Comments:
Post a Comment
<< Home